photography tips

Master the Art of Self-Portraits: Top Tips from Echo Alpha Media by Ezeomo Akhirome

Introduction:

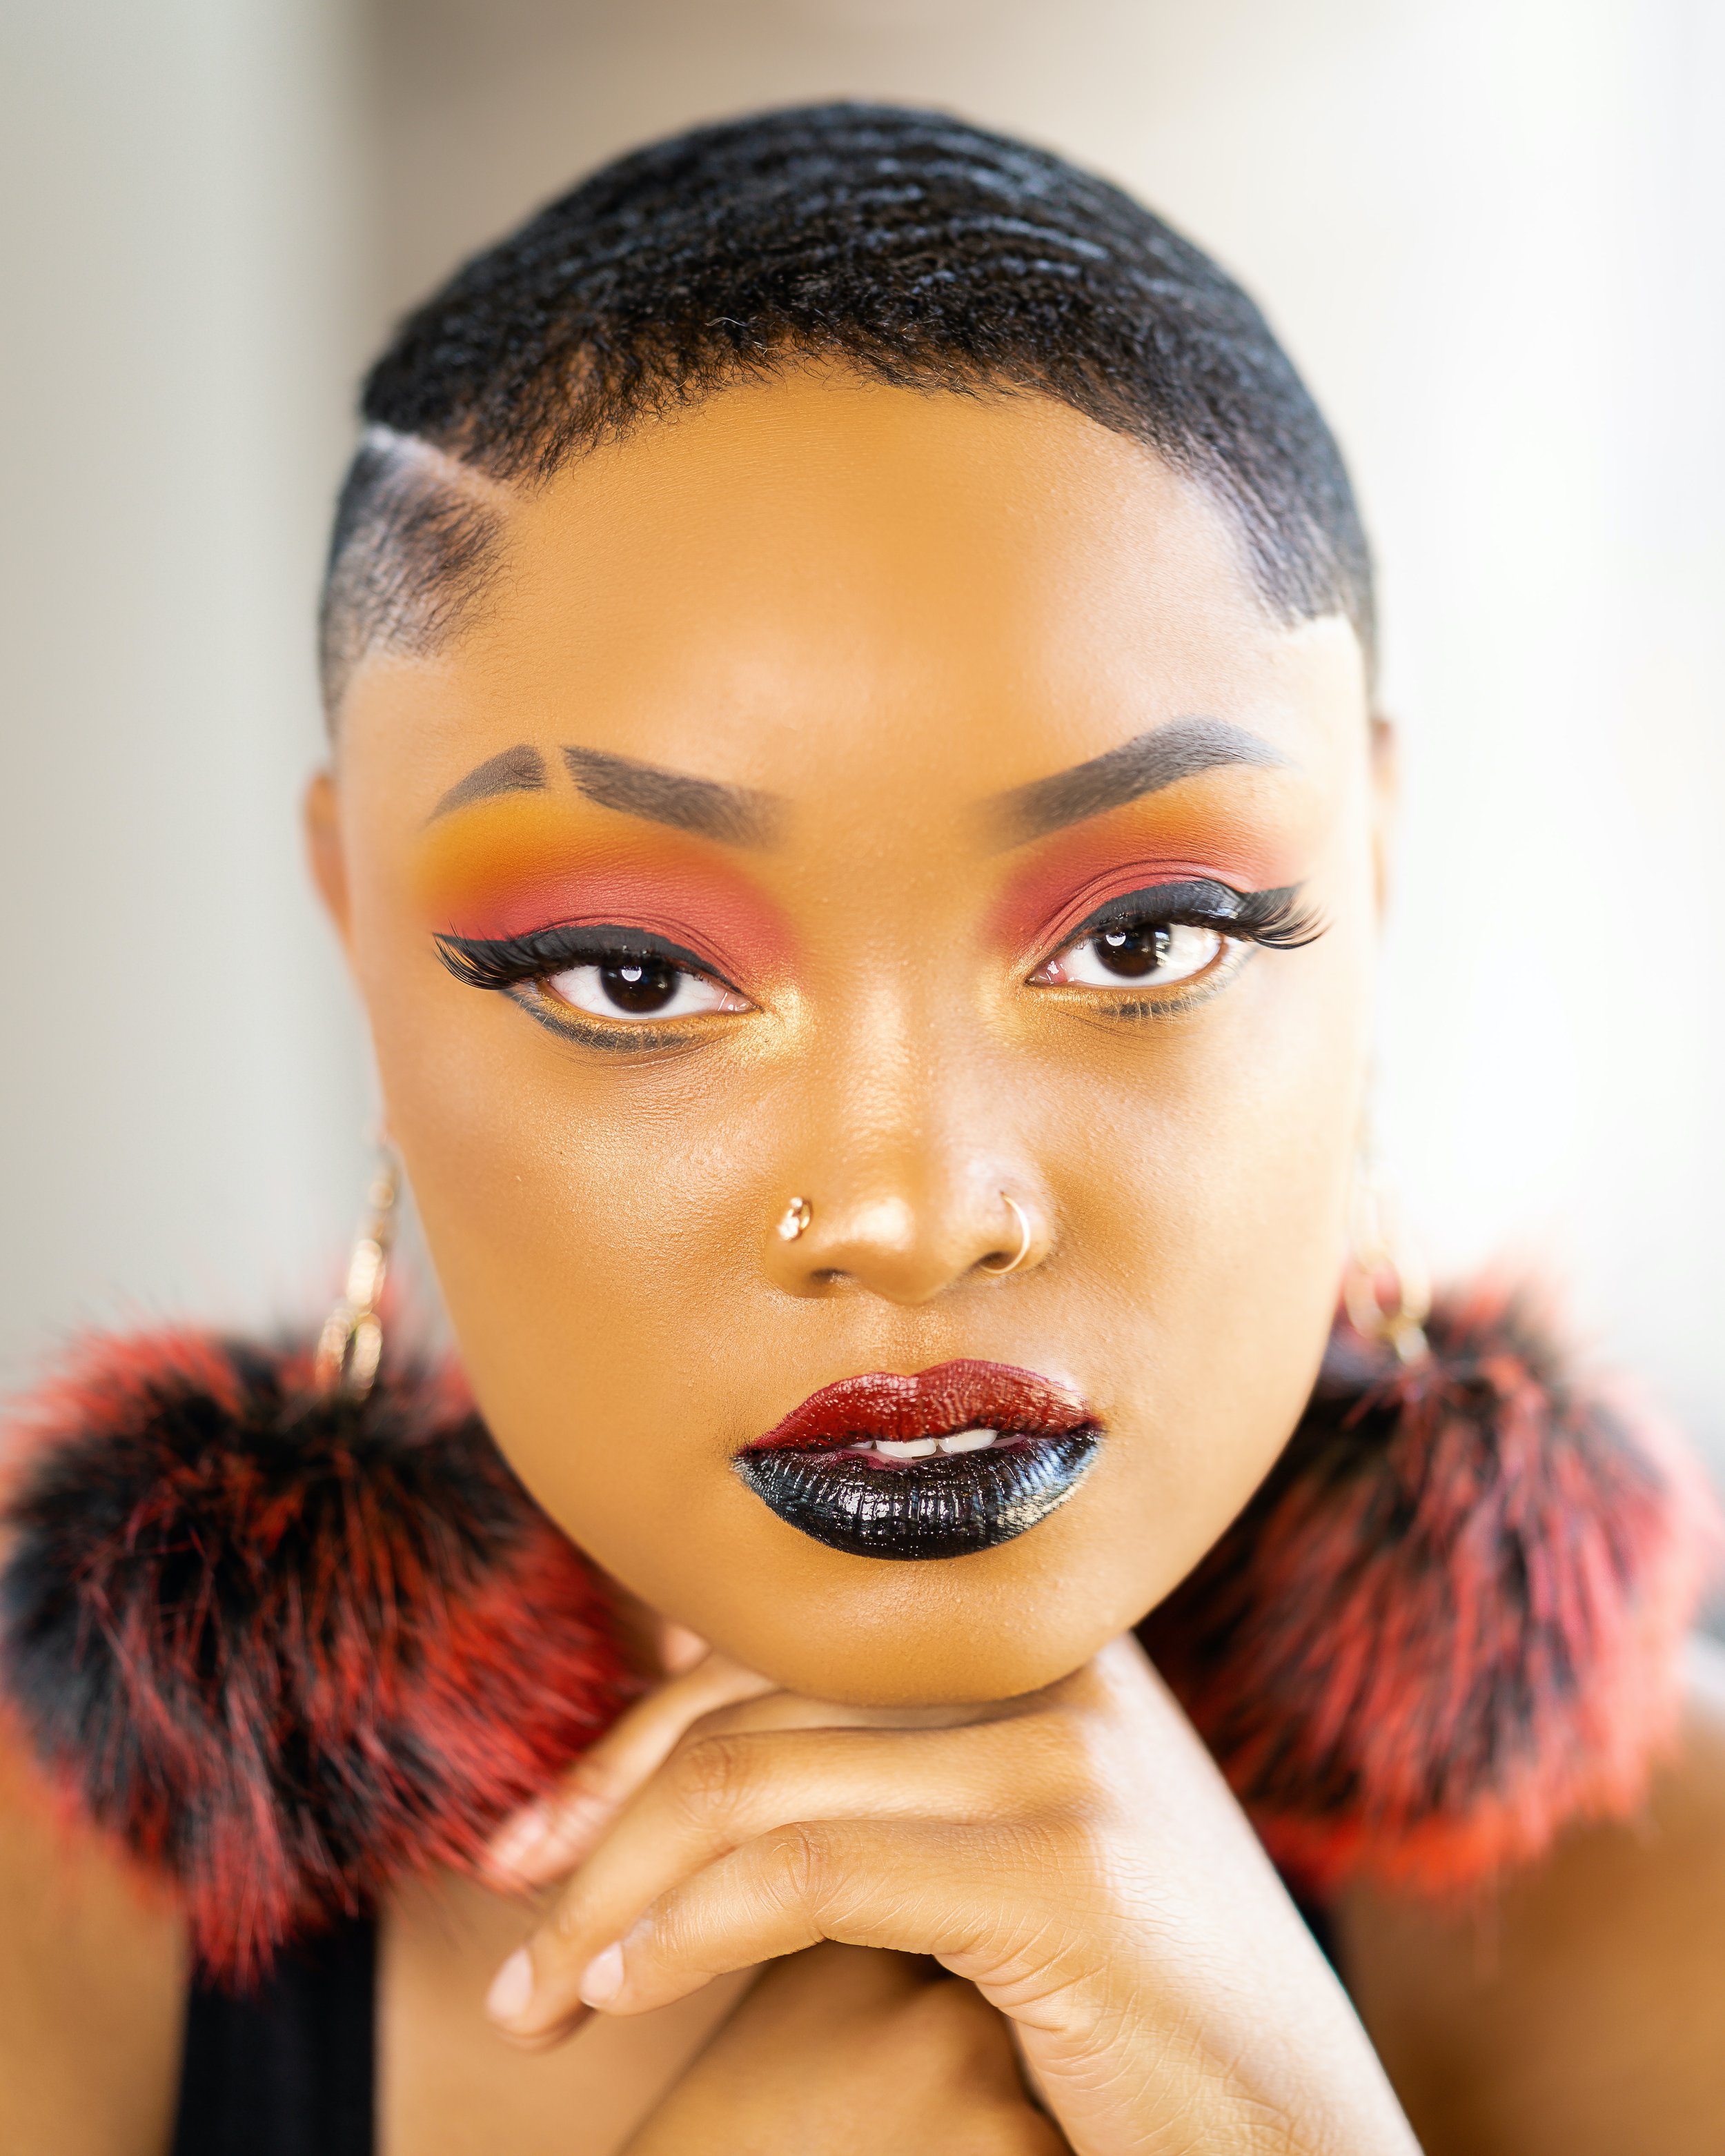
Taking self-portraits is an excellent way to express your creativity and document your personal journey, but it can also be challenging. At Echo Alpha Media, we appreciate the skill and artistry involved in self-portraiture and want to help you refine your techniques. This blog post will explore practical tips on how to take better self-portraits that truly express who you are.

Use a Tripod and a Remote:

A tripod will keep your camera steady, and a remote will allow you to trigger the shutter without having to run back and forth between poses. A camera with a built-in timer can also be helpful, giving you a few seconds to get into position before the shot is taken.

Experiment with Lighting:

Lighting can make or break a portrait, so don't be afraid to experiment. Natural light, artificial light, and even the golden light of sunrise or sunset can provide unique effects and moods. Be mindful of how the light interacts with your face - different angles can dramatically alter the mood and look of the portrait.

Compose with Purpose:

Use the rules of composition to your advantage - the rule of thirds, leading lines, and framing can all add interest to your self-portraits. Don't feel you have to always be in the center of the frame - sometimes an off-center composition can be more engaging.

Express Emotion:

One of the most compelling aspects of self-portraits is the ability to convey emotion. Think about what you want to express and let that emotion show in your expression, body language, and even in the setting and props you choose.

Experiment with Different Perspectives:

Break free from the standard head-on shot and experiment with different perspectives. Shoot from above, below, or from the side to add variety and intrigue to your self-portraits.

Post-Processing is Your Friend:

Use editing software to fine-tune your images post-shoot. Adjusting contrast, saturation, and brightness, or adding filters can drastically change the mood and quality of your self-portraits. Remember, however, that subtlety is key - it's easy to overdo it with post-processing.

Conclusion:

Taking a captivating self-portrait requires practice, creativity, and a touch of bravery. By leveraging these tips from Echo Alpha Media, you can improve your self-portrait skills and create images that tell your unique story. Remember, the most important aspect of self-portraits is authenticity - so be you, be bold, and have fun with it.

Unlocking the Magic of Golden Hour Photography: Tips and Tricks from Echo Alpha Media by Ezeomo Akhirome

Introduction:

Golden hour, the period shortly after sunrise or before sunset, is a favorite time for photographers due to its soft, warm, and flattering light. This magical time can elevate your photography to new heights when used effectively. At Echo Alpha Media, we understand the allure of golden hour and have honed our skills to make the most of it. In this blog post, we'll share some tips and tricks for mastering golden hour photography and capturing breathtaking images.

Plan Ahead:

To make the most of the golden hour, it's essential to plan your shoot in advance. Research the location, know the sunrise and sunset times, and have a clear idea of the shots you want to capture. This preparation will help you maximize your time and ensure you're ready when the perfect light arrives.

Arrive Early and Stay Late:

Arriving early and staying late will give you more time to experiment with the changing light and explore various compositions. This extra time can be invaluable, as the light and colors during the golden hour can change rapidly.

Use a Wide Aperture:

Using a wide aperture (e.g., f/2.8 or lower) allows more light into your camera, which is helpful during the low-light conditions of golden hour. Additionally, a wide aperture creates a shallow depth of field, which can add a dreamy, ethereal quality to your images.

Play with Shadows and Silhouettes:

The low angle of the sun during golden hour creates long, dramatic shadows and striking silhouettes. Use these to your advantage by incorporating them into your compositions and adding visual interest to your images.

Experiment with Backlighting:

Positioning your subject between your camera and the sun can create a beautiful, glowing backlight effect. This technique can add warmth and depth to your images while also emphasizing your subject's outline.

Use a Lens Hood or Shade:

Shooting during golden hour often means shooting directly into the sun, which can cause lens flare and reduce contrast in your images. Using a lens hood or shading your lens with your hand can help minimize these issues.

Adjust Your White Balance:

Auto white balance can sometimes struggle to accurately capture the warm tones of golden hour. To ensure your images accurately reflect the scene, experiment with different white balance settings or shoot in RAW format, allowing you to adjust the white balance during post-processing.

Conclusion:

Golden hour photography offers a unique opportunity to capture stunning, warm-toned images that leave a lasting impression. By planning ahead, arriving early, experimenting with aperture and composition, and making the necessary adjustments, you can unlock the full potential of this magical time. Let Echo Alpha Media's tips and tricks guide you on your journey to mastering golden hour photography and creating breathtaking images that stand out.

Mastering the Art of Capturing Emotion in Photography: Tips and Techniques from Echo Alpha Media by Ezeomo Akhirome

Introduction:

Capturing emotion in photography is an essential skill for creating compelling, memorable images that evoke feelings and tell stories. At Echo Alpha Media, we understand the power of emotion in photography and strive to capture it in every project we undertake. In this blog post, we'll share some tips and techniques for capturing emotion in your own photography, helping you create images that connect with your audience on a deeper level.

1.Focus on the Eyes:

The eyes are often referred to as the "windows to the soul," and they can convey a wide range of emotions. To capture emotion in your photography, focus on the subject's eyes and look for subtle cues, such as a gleam, a tear, or a furrowed brow.

2. Capture Candid Moments:

Candid moments often reveal genuine emotions that can be difficult to recreate in posed shots. Be ready to capture these spontaneous moments by observing your subjects closely and anticipating their actions. This may require patience, but the results are often worth the wait.

3. Utilize Lighting to Set the Mood:

Lighting plays a crucial role in creating mood and evoking emotion in photography. Experiment with different lighting techniques, such as soft, diffused light for a gentle, intimate feel, or dramatic, high-contrast lighting to create tension and mystery.

4. Pay Attention to Body Language:

Body language can provide valuable clues to a subject's emotions. Look for gestures, posture, and facial expressions that communicate feelings like joy, sadness, or fear, and use them to tell a more emotionally charged story through your images.

5.Use Composition to Evoke Emotion:

Thoughtful composition can enhance the emotional impact of your photographs. Consider using techniques such as leading lines, framing, or the rule of thirds to guide the viewer's eye to the most emotionally significant part of the image.

6. Experiment with Color and Tone:

Colors can evoke strong emotional responses, so experiment with different color palettes and tones to create a specific mood in your photography. For example, use warm tones to convey feelings of comfort and happiness, or cool tones to create a sense of calm or melancholy.

7. Connect with Your Subjects:

To capture authentic emotions, it's essential to establish a connection with your subjects. Engage with them, make them feel comfortable, and encourage them to express their emotions openly. A strong rapport will result in more genuine and emotionally powerful photographs.

Conclusion:

Capturing emotion in photography is both an art and a skill. By focusing on the eyes, capturing candid moments, utilizing lighting and composition techniques, and connecting with your subjects, you can create images that resonate with viewers and leave a lasting impact. Let Echo Alpha Media's tips and techniques guide you in your journey to mastering the art of capturing emotion in your photography.


Crafting the Perfect Photography Mood Board for Inspiration: A Guide by Echo Alpha Media by Ezeomo Akhirome

Introduction:

A photography mood board is a powerful tool for visualizing and communicating ideas, setting the tone for a photoshoot, and sparking creativity. At Echo Alpha Media, we recognize the value of a well-designed mood board in achieving cohesive and captivating results. In this blog post, we'll guide you through the process of creating a photography mood board that inspires and informs your next project.

Define Your Objectives:

Before creating a mood board, clearly define the objectives of your photoshoot or project. Consider factors such as the target audience, the message you want to convey, and the overall aesthetic you wish to achieve. This will help guide your mood board's content and ensure it aligns with your goals.

Collect Images and Visual Elements:

Gather images, colors, textures, and other visual elements that resonate with your project's objectives. Look for inspiration from various sources, such as magazines, social media platforms (like Pinterest and Instagram), photography websites, and even movies or art exhibitions. At this stage, focus on quantity rather than quality, as you'll refine your selections later.

Organize and Refine Your Selection:

Once you've collected a wide range of visual elements, start organizing them by theme, color, or style. Look for patterns and recurring motifs, and identify the images that best represent your objectives. Be selective and remove any elements that don't align with your project's vision.

Assemble Your Mood Board:

Using a digital platform (such as Canva, Photoshop, or InDesign) or a physical medium (like a corkboard or foam board), arrange your curated images and elements. Experiment with different layouts and consider how each element interacts with the others. Aim for a cohesive, visually appealing mood board that effectively communicates your project's essence.

Add Descriptive Words and Phrases:

Including descriptive words and phrases can help clarify your mood board's message and emphasize specific themes or feelings. Choose words that evoke the desired atmosphere and complement the visual elements you've selected.

Share and Discuss:

Share your completed mood board with your team, clients, or collaborators. Discuss the mood board's content and seek feedback to ensure everyone is on the same page. This step will help you refine your vision and create a shared understanding of the project's direction.

Use Your Mood Board as a Reference:

Keep your mood board handy during the planning and execution of your project. It will serve as a valuable reference point, ensuring that your photoshoot or project remains consistent with your initial vision.

Conclusion:

Creating a photography mood board can be an inspiring and effective way to visualize your project's direction and foster creative collaboration. By following Echo Alpha Media's guide, you'll be well on your way to crafting a mood board that ignites your creativity and elevates your photography projects.

Top 10 Photography Tips for Beginners: Master the Art of Capturing Stunning Images with Echo Alpha Media by Ezeomo Akhirome

Are you just starting your journey into the world of photography? At Echo Alpha Media, we understand that getting started can be both exciting and a little overwhelming. To help you navigate through the learning process, we've put together our top 10 photography tips for beginners. These tips will give you a solid foundation to build on and help you capture stunning images in no time!

  1. Understand the Exposure Triangle: The exposure triangle consists of three essential elements: aperture, shutter speed, and ISO. Learning how to balance these elements is crucial for achieving well-exposed photographs. Experiment with different settings to understand how each element impacts your images.

  2. Learn How to Use Off-Camera Flash: Mastering off-camera flash techniques can take your photography to new heights. Off-camera flash allows you to create more dynamic and professional-looking images by controlling the direction, intensity, and quality of light. Start with a single flash and wireless trigger, and practice balancing ambient light with your flash for well-lit, stunning photographs.

  3. Learn the Rule of Thirds: The Rule of Thirds is a fundamental principle of composition. Imagine your frame divided into nine equal sections by two horizontal and two vertical lines. Placing your subject along these lines or at their intersections can create a more balanced and visually appealing image.

  4. Master the Art of Focusing: Achieving sharp focus is essential for capturing stunning photographs. Understand the different autofocus modes on your camera and practice manual focusing for more control over your images. Remember to focus on your subject's eyes when taking portraits.

  5. Experiment with Different Perspectives: Don't be afraid to move around and explore different angles while shooting. Get low to the ground, climb up high, or shoot from the side to discover unique and interesting perspectives.

  6. Utilize Natural Light: Natural light can dramatically enhance your photographs. Try to shoot during the golden hour (an hour after sunrise or before sunset) when the light is warm and soft. Learn to use the direction and quality of natural light to your advantage.

  7. Don't Rely on Post-Processing: While photo editing software can help enhance your images, it's essential to capture the best possible shot in-camera. Focus on nailing your exposure, composition, and focus to minimize your reliance on post-processing.

  8. Practice, Practice, Practice: The more you shoot, the more you'll learn and grow as a photographer. Experiment with different subjects, styles, and techniques to develop your skills and find your unique photographic voice.

  9. Be Patient: Great photography often requires patience. Wait for the perfect light, the decisive moment, or the right expression to capture a truly remarkable image.

  10. Never Stop Learning: The world of photography is vast and ever-evolving. Continuously educate yourself through workshops, online tutorials, and by following the work of other photographers you admire.

Conclusion: Armed with these top 10 photography tips for beginners from Echo Alpha Media, you're well on your way to capturing amazing images. Remember, photography is a journey filled with learning, experimentation, and growth. Enjoy the process, and don't forget to have fun along the way!